How to Create a Custom Adobe Illustrator Gradient
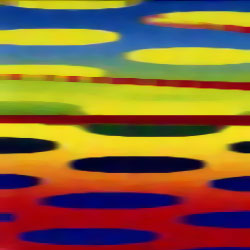
Creating a custom Adobe Illustrator gradient is a common and straightforward task - and here's how to do it. If you need to copy a gradient from an image (below is a detail of an image as an example), first you need to place it in Illustrator as a guide.
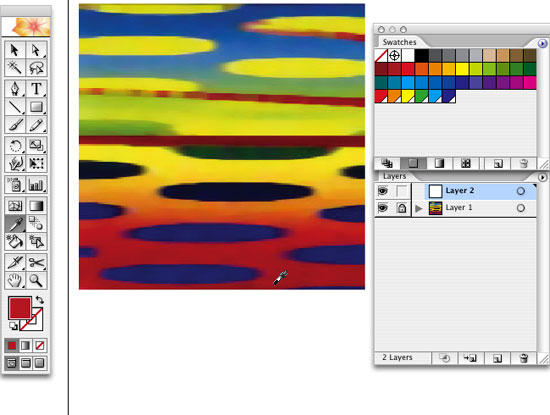
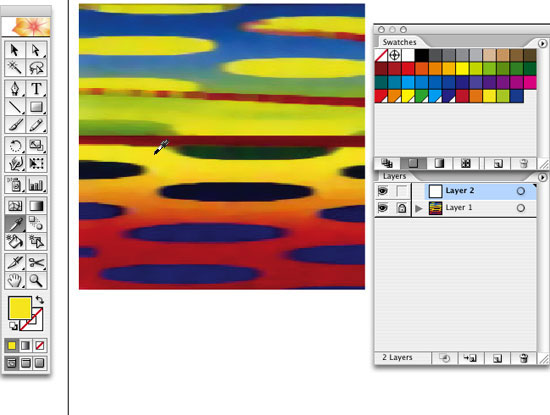
Select File/Place... and navigate to the image on your computer that you want to use as a template. Lock the layer that the image is in by clicking the little box to the left of the layer name. Then create a new layer by clicking on the Create New Layer button at the bottom of the layer palette. Now you need to select the eyedropper tool from the Tool Palette. Open the Swatch Palette. Click on a color at the start of the gradient in the image guide. Click on the very edge of the color range to get the outermost color. The color you've selected will appear in the Fill box in the Tool Palette. Drag the color to the Swatches Palette and then select the next stage of the gradient. The sample below has three main colors - red, yellow and blue (from the bottom up). For accuracy though, it would be advisable to sample the orange and green interim colors that also appear.
Once you've selected the five main colors and dragged them over, your swatch palette should look as it does below. Now to create the Adobe Illustrator gradient.
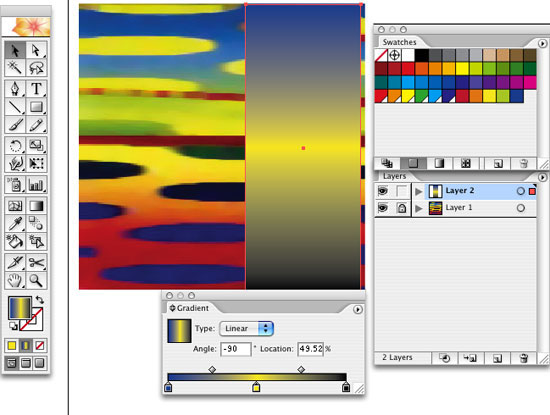
Next, select the Rectangle Tool and create a box over the image guide. Make sure some of the image is visible so you can see if the results are accurate. Open the Gradient Palette and select Linear Gradient. Enter -90 degrees in the Angle field. Click below the gradient line in the middle to create a new mini-swatch Gradient Slider.
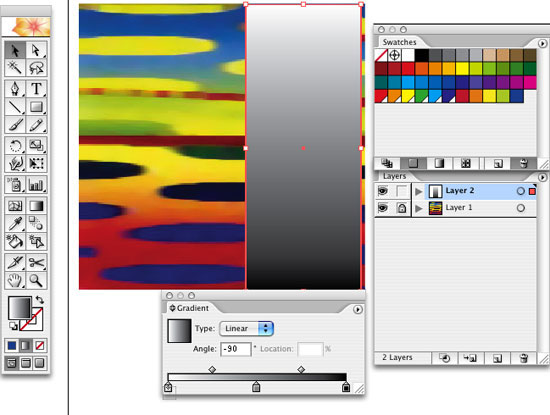
Ensuring that the rectangle is still selected, drag the red swatch from the Swatches Palette over the far left Gradient Slider until a little '+' appears. Release the mouse button when this happens and the slider will inherit the color of the new swatch. Drag the yellow swatch over the middle slider and the blue over the right hand slider.
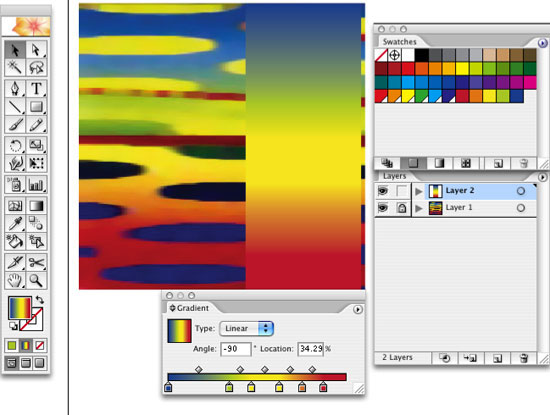
Now create two new Gradient Sliders. The first goes between the red & yellow (drag the orange swatch here) and the second goes between the yellow and blue (drag the green swatch here). Now drag the sliders left and right until the gradient matches the image beneath.
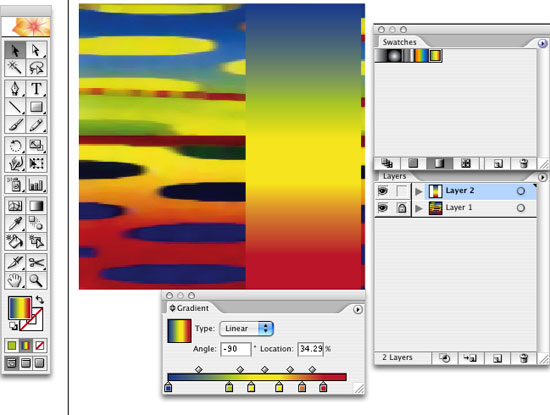
To save your new Adobe Illustrator gradient, drag the content of the Gradient Fill box to the Swatches Palette. The gradient will automatically drop into the Gradients section of the Swatches Palette. And there you have it!
Resources & More Information
- More Adobe Illustrator Tutorials
- Photoshop Clipping Paths
- Free Method of Converting Quark to InDesign
- 4 Color Process Printing and Spot Color Printing - What's the Difference?
- Return from Adobe Illustrator Gradient to Home