InDesign Transparency, Layers and Master Pages
You can use InDesign transparency settings to fade a background image so you can work over the top of it. But how do you stop accidentally and annoyingly selecting it whenever you want to move or change another element on the page? There are two ways to lock a background image for this purpose. One is to use locking Indesign layers, and the other is to use master pages.
Using InDesign layers to lock a background image
First create an Indesign document. I've given mine 5mm bleed so the background image bleeds off the edge of the page.
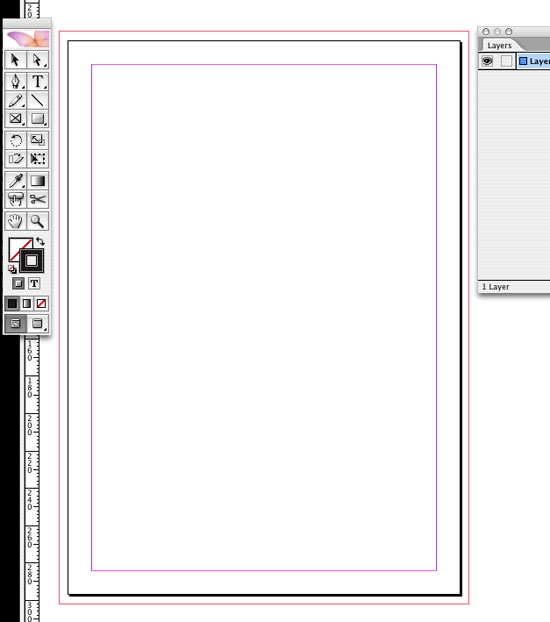
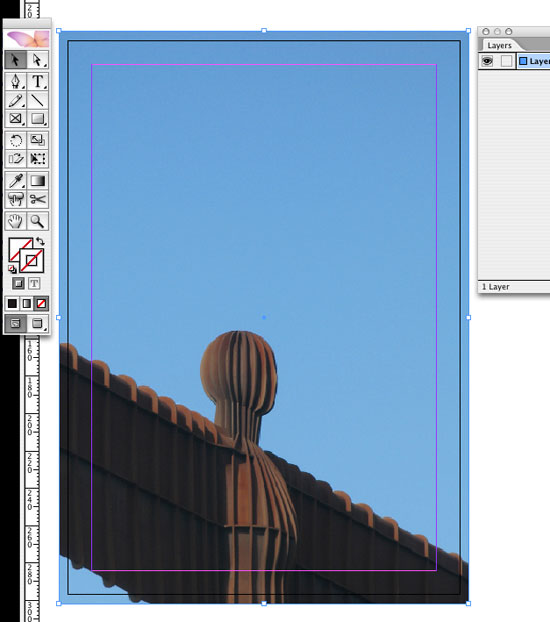
Place your background image and snap the outer edges of the bounding box to the bleed guides.
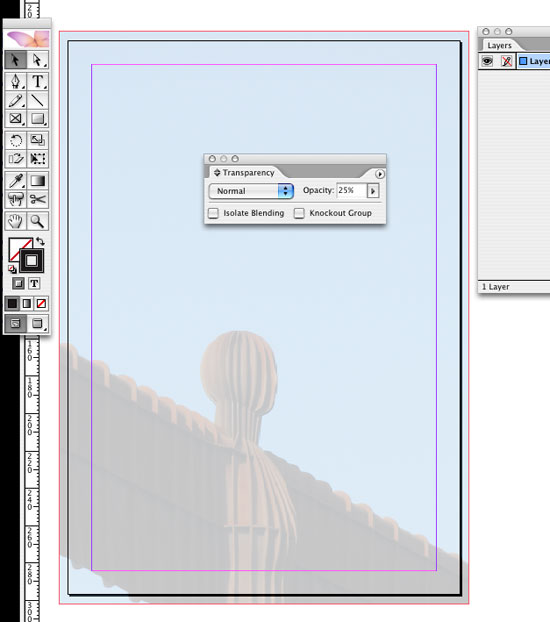
Open the InDesign Transparency Palette. In InDesign CS3 this is now called the Effects Palette. Select the background image and give it an opacity of about 25% (or whatever you're happy with). Once you've finished with the Indesign Transparency Palette, close it down and lock the layer containing the image by clicking on the little check box in the Indesign Layers Palette (just to the left of the layer name, and to the right of the little eye which toggles the layer visibility).
Next, create a new layer by clicking the Create New Layer button at the bottom of the InDesign Layers Palette. This is the layer that will contain all the text, images and other elements of the layout. As long as the bottom layer containing the background image is locked, it'll stay in position.

Using InDesign master pages to lock a background image
The master pages within layout programs like Indesign and Quark XPress enable you to reproduce permanent features of a document layout (like page numbers and other repetitive design features) on every page of a document without having to recreate them for every single page.
In InDesign, everything on the master pages is locked by default. This can be overridden at page level if required as is demonstrated further down. In Quark, nothing that appears on the master pages is locked, so you need to be more careful not to move elements around by mistake.
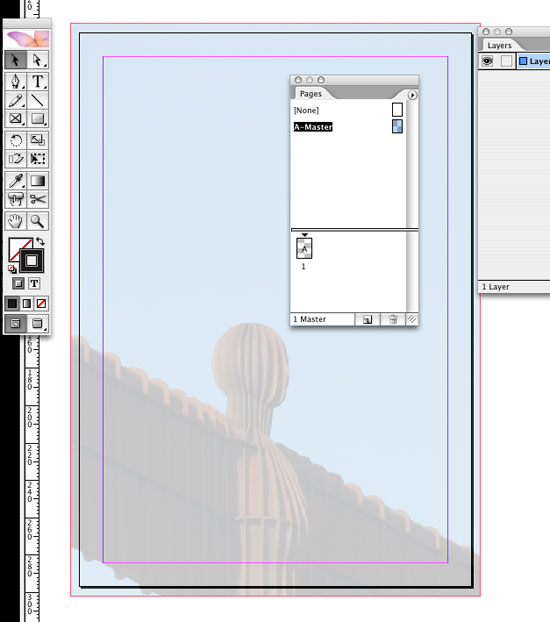
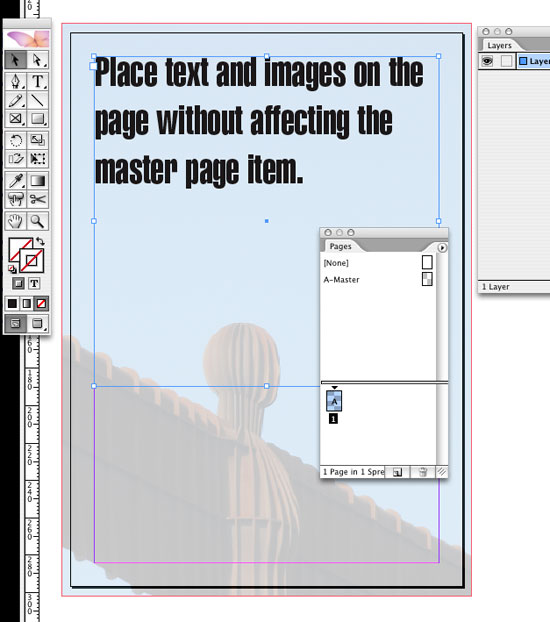
Anything that appears on the master pages (you can have different master page designs applied to different document pages) will appear on every page which has that master page applied. For example, below you can see the master page is called A-Master. The only page in the Pages Palette has an 'A' in the middle of the thumbnail. This means that the A-Master is applied to it, so a background image that appears on the A-Master will also appear on every page with an 'A' showing on the thumbnail.
Double click the A-Master thumbnail in the Pages Palette. Place the background image and use the InDesign Transparency Palette to knock it back as described earlier. Then double click on the page 1 thumbnail to return to the main layout.
You can now place whatever elements you like over the background image and you won't be able to select, move or alter it, even though the layer that it's on isn't locked.
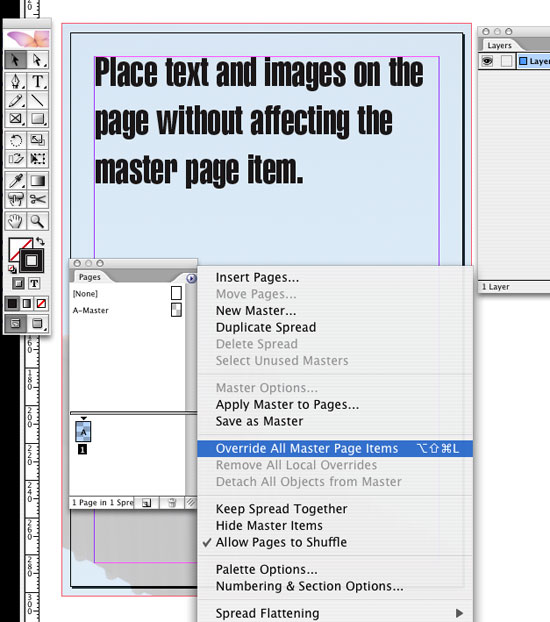
If you do want to release the background image on a page, select the relevant page thumbnail in the Pages Palette. Click the little submenu arrow (top right of the palette) and select Override All Master Page Items. This will release everything on the master page on the selected pages only.
Resources & More Information
- Photoshop Clipping Paths
- Free Method of Converting Quark to InDesign
- 4 Color Process Printing and Spot Color Printing - What's the Difference?
- Return from InDesign Transparency & Backgrounds to Home