Illustrator Gradient Mesh Tool - Creating Realistic Vector Art
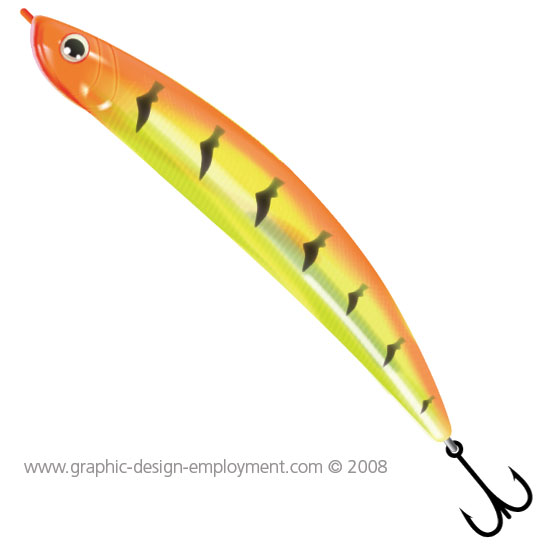
The Adobe Illustrator gradient mesh tool is often ignored because it can be unwieldy and confusing to use at first. If you persevere though it is incredibly useful, and some great effects can be achieved. This is my attempt to get to grips with it by creating an illustration of a metallic fishing lure for a design project.
As the illustration progressed I would change my mind about one method and tried another; this is what the creative process is like - trial and error. For example, the gradient mesh tool was great for the body, but was unnecessary for the eye. The time-lapse video below will show what I mean.
So how was it done? You can either read on, or view the time-lapse video tutorial below.
Illustrator CS3 Gradient Mesh Tool
Time-lapse Video Demonstration
Illustrator CS3 Gradient Mesh Tool
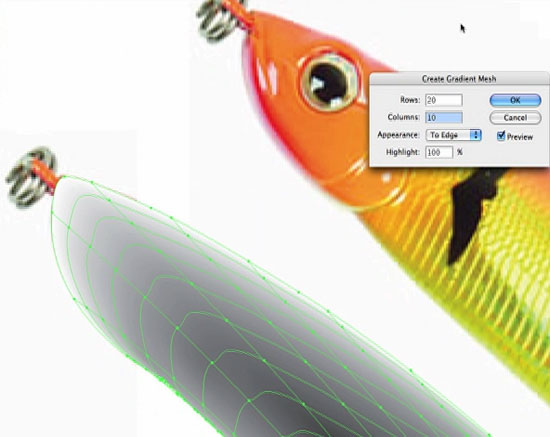
Create a vector shape
When creating the Illustrator gradient mesh there are a couple of ways to do it. Sometimes it's best to create a rectangle around the object and go OBJECT/CREATE GRADIENT MESH. Subdivide the rectangle and then move the points to follow the contour of the object's features. This make for a cleaner mesh.
In this case though, I found that a good enough mesh was created within the vector shape I had traced. Don't add too many rows and columns - you can add these as you go.
Illustrator CS3 Gradient Mesh Tool
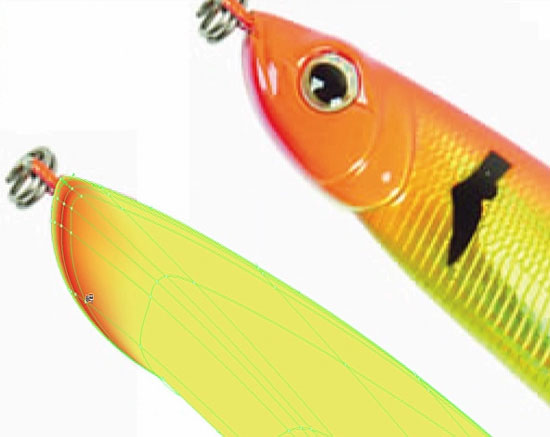
Sample colors from the photo and apply them to points and planes
Color can be added to points as well as the planes making up the gradient mesh. the color can be controlled using the bézier handles. This will take some experimentation, but it won't take you long to predict how the Illustrator gradient mesh is going to react to certain manipulations. Sample color from the photo you are copying and apply them to corresponding points and planes.
Illustrator CS3 Gradient Mesh Tool
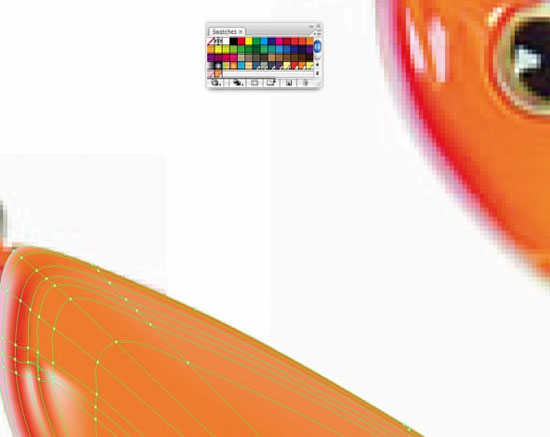
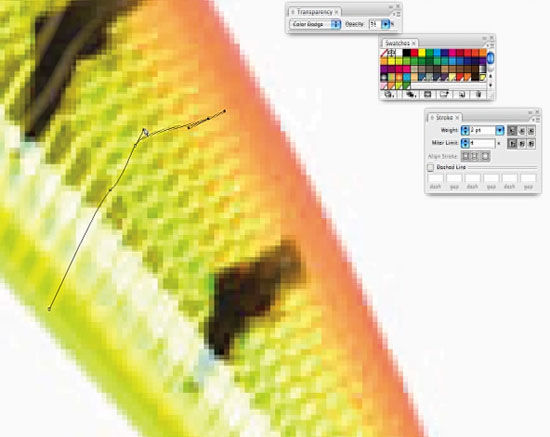
Add new points as you need them
For highlights and other details, add new points where required. You can limit the spread of the color by adding more points on the same path as the highlight and applying different colors to them. Again, trial and error will make this clearer.
Illustrator CS3 Gradient Mesh Tool
Create feathered lines and shapes for more detail
For the gills and other such highlights I found it easier to leave the gradient mesh alone and create paths over the top of it. I feathered these and changed their blending mode and transparency settings to soften their appearance.
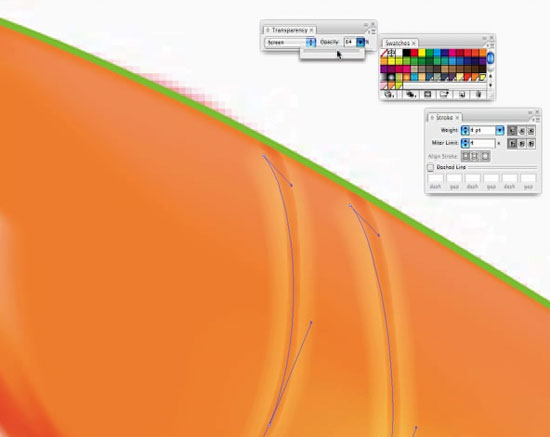
Highlights on the body as well as scales were made with feathered, semi-transparent lines.
Illustrator CS3 Gradient Mesh Tool
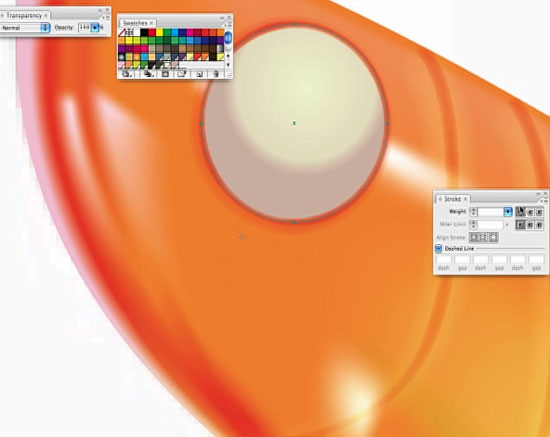
Don't forget the other simpler gradient tools
When it came to the eye I continued down the Illustrator gradient mesh route but soon found that it was overkill. A simple radial gradient was all that was needed.
Illustrator CS3 Gradient Mesh Tool
Use the 3D tool to add a slight bevel
The 3D Extrude and Bevel tool helped to give the eye a little more depth. I then duplicated the circle that made up the eye, made it white, added another larger one over the top and used it to cut out the white one beneath using the pathfinder tools. Reducing the opacity of the white circle gave the eye a nice reflective look.

Illustrator CS3 Gradient Mesh Tool
Finishing touches
The black markings were made by tracing the originals, feathering the shapes, giving them a Multiply blending mode and reducing the transparency slightly.
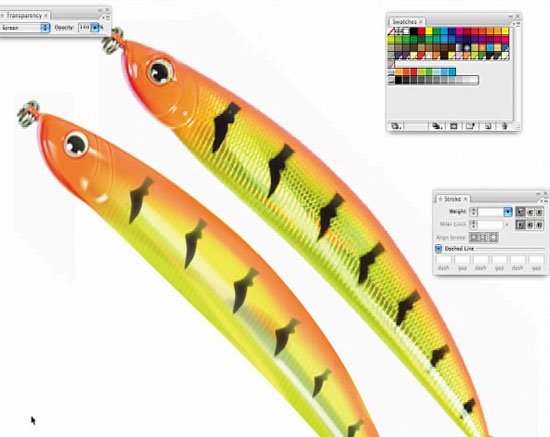
The finished result was not a perfect replica, but a simplified version which suited my purposes. Here is a link to an excellent banana tutorial... gradient mesh tutorial.
Resources & More Information
- More Adobe Illustrator Tutorials
- Photoshop Clipping Paths
- Free Method of Converting Quark to InDesign
- 4 Color Process Printing and Spot Color Printing - What's the Difference?
- Return from Illustrator Gradient Mesh Tool to Home