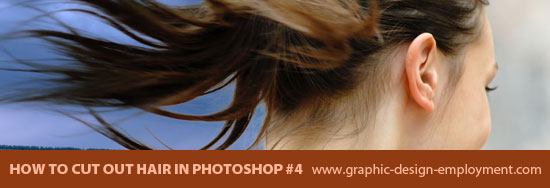
Remove Background from Image using Fluid Mask and Photoshop
Remove Background from Image using Fluid Mask as a Photoshop Plugin
Below is a tutorial on how to remove a background from an image using a combination of Vertus Fluid Mask 3 and Photoshop. You can either read on, or view the Photoshop video tutorial below.
Remove Background from Image - Fluid Mask Tutorial
Video Tutorial Part 1
Remove Background from Image - Fluid Mask Tutorial
Video Tutorial Part 2
Every image has different challenges and attributes
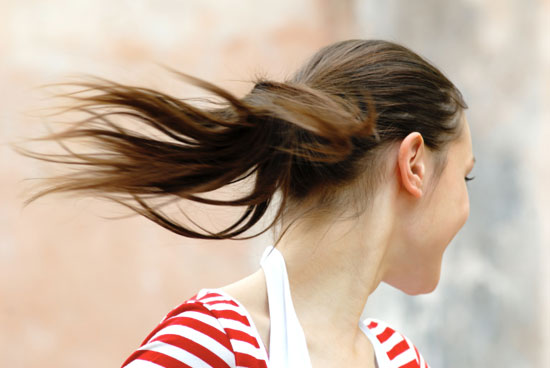
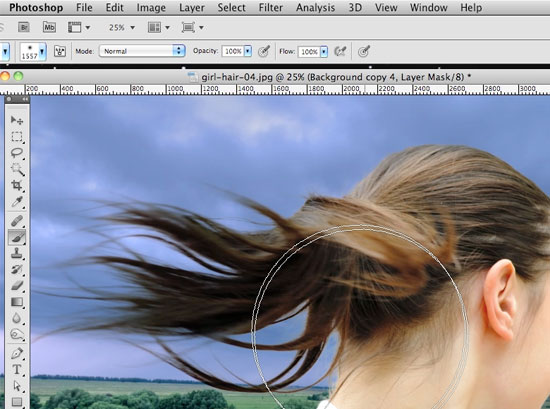
The image featured in this article (below) has one thing working against us - the out-of-focus flying ponytail blends trickily into the background. In our favor the background is quite plain, but the blurriness of the hair makes this a difficult subject. For this image, therefore, I'm going to enlist a little external assistance from Fluid Mask. This is essentially a replacement for Photoshop's earlier 'Extract' filter (removed in CS4) and it operates either as a Photoshop Plugin or as a standalone program. Adobe gradually replaced the Extract filter with the more intelligent 'Quick Selection Tool' and 'Refine Mask' (CS5) or 'Refine Edge' (CS3 & 4) options which (when used in conjunction with each other) render a similar result.
First, select an image to work with
Before you get started, if you want to use the same image as I've used, you can download it from the free photos section at stock image library, Dreamstime. Just type 2605442 into the Free Images search field. Alternatively, choose one of your own images. If you need a suitable image to work on, here are a bunch of hair images from Dreamstime.
Remove Background from Image - Fluid Mask Tutorial
Get started
I like to work non-destructively - which means to say I always keep copies of any work in progress, source files, layers and channels. Then it's easy to revert to an earlier incarnation without resorting to the History palette (which only works in a single session - not in saved files). To start, make a copy of your background layer. Fluid mask doesn't create a layer mask, but actually deletes the background making it impossible to bring back anything that was lost - so we want to apply the filter to a copy of the original image, then make a selection of the result and apply it as a layer mask to the intact source image.
Open Fluid Mask from the Filters Menu
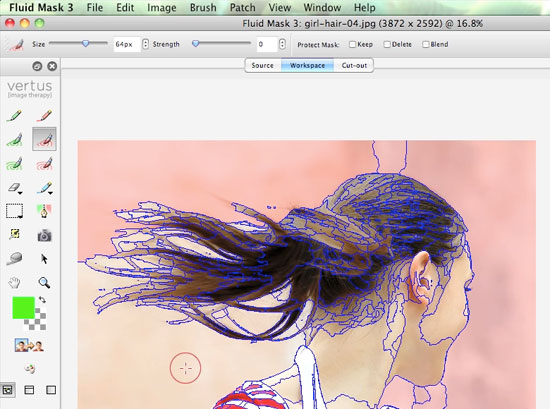
Once installed, Fluid Mask appears as a Photoshop Plugin in the Filters menu. Select Filter/Vertus/Fluid Mask 3. When selected Fluid Mask fires up and automatically generates blue vector shapes which it wraps around what it considers to be common areas of color within the image (below). Also shown in the image below are some (superimposed) labels for some of the tools we'll be using.

Use the Delete Local Brush to Select Background (or general area to delete)
The Delete Local Brush intelligently selects areas of similar hue in much the same way as the Photoshop Magic Wand and Quick Selection Tool. Select the tool and brush around the areas of the image that you ultimately want to delete - you can be quite rough at this stage because we'll refine it later (below).
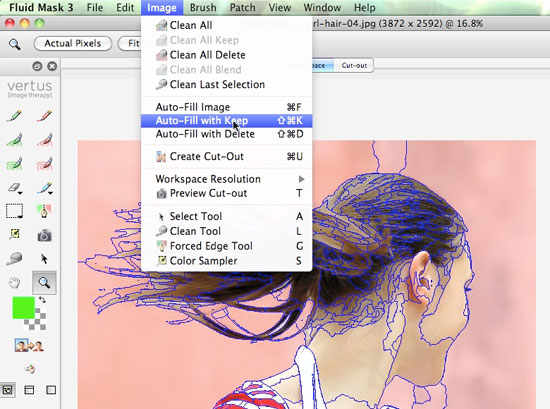
Select Auto Fill with Keep to fill the remaining areas that you want to keep
The Auto Fill with Keep feature (below) saves you the trouble of manually identifying all the areas you missed with the red tool brush tool. All untouched areas will now fill with green.
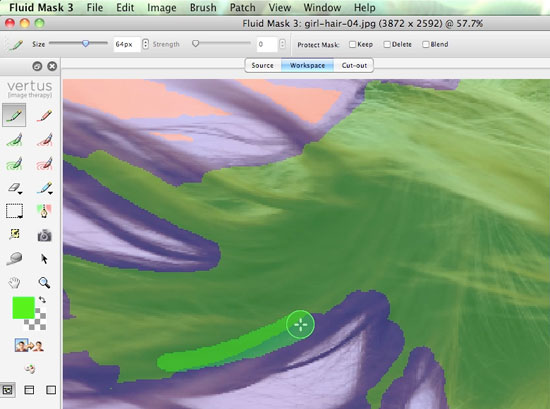
Use the Delete Exact Brush to get rid of unwanted green blobs
Some areas would inevitably have been missed when you used the Delect Local Brush (which relies on a Magic Wand type of selection) so you'll need to scrutinise the area of red and brush over any green blobs appearing on the background that were just auto-filled.
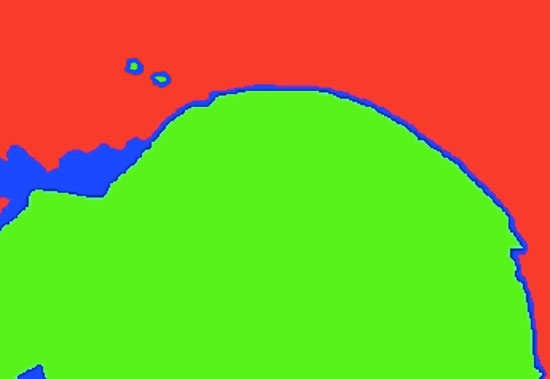
To help you see these blobs it helps to slide up the Mask Opacity slider to 100% and uncheck the box of Show Object Edges, both of which can be found at the bottom of the Fluid Mask window. This will result in a crystal clear rendering of the keep areas (green), delete areas (red) as well as the blend areas (blue) which have been automatically generated over areas where the foreground meets the background (below).
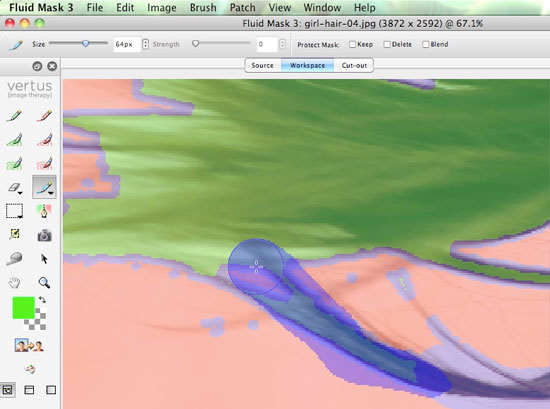
Use the Blend Exact Brush to refine the areas where hair meets background
Now click on the Blend Exact Brush. As the name suggests, this will allow us to paint over areas that blend with the background and contain fine detail in blue (below), and the blending will take place only where we brush. No magic wand selection takes place here - thus 'exact' instead of 'local'.
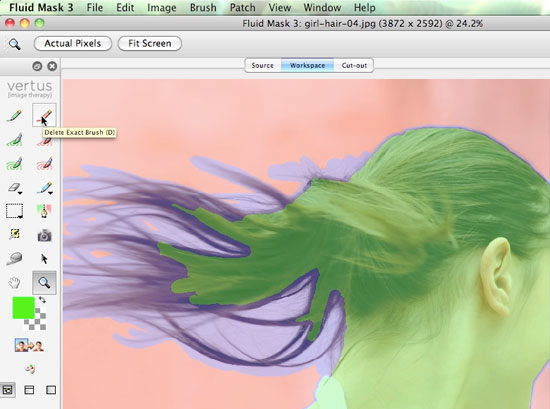
Use Keep Exact Brush to paint in solid areas to keep (green) as close to blended edges as possible
The Keep Exact Brush allows us to refine the 'keep' selection (in green). What I did here was to paint up as close to the edge of the areas of solid hair as possible, without actually encroaching on areas where the foreground started to blend with the background (below). The next step will be to do the opposite with the areas we want to delete...
Use Delete Exact Brush to paint in solid area to delete (red) as close to blended edges as possible
And so... now we do the opposite. Select the Delete Exact Brush (rather than Delete Local Brush) and paint (in red) over areas you want to delete. Go as close to the areas that blend as you can without going over them. Eventually you should end up with a result like the one shown below.
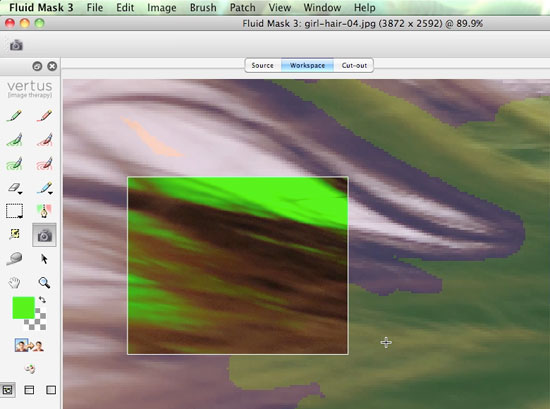
Use Fast Preview tool to see how you're getting on
If at any stage you'd like to get a quick preview of what the finished result will look like, click on the Preview Cut-Out button (it looks like a little camera - see below) and drag a rectangle over the section of the image you'd like to check out. As the background color selected is currently green, that's the color that'll appear behind the parts of the image you'd like to keep.
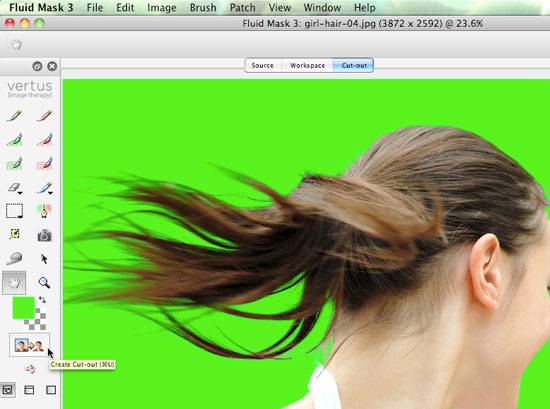
Hit the Create a Cut Out Button
When you feel you've done enough, hit the Create Cut-Out button at the bottom of the tool palette (below). This'll render a cutout based on the brushed selections you just carried out. The result should hopefully show a reasonably good cutout, although there will always be areas that need more work, so you'll need to zoom in to identify such areas and then tidy up your Keep/Delete/Blend Exact brushwork.
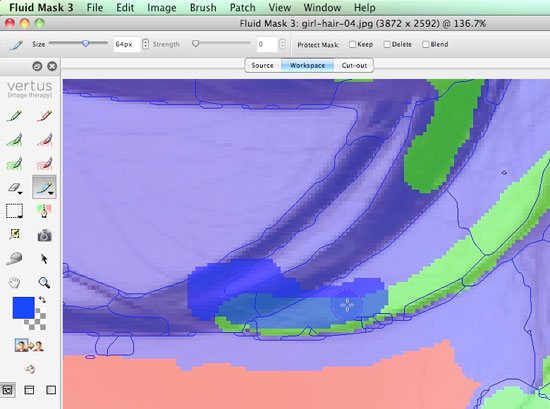
Change the background color to suit the final background image and identify problem areas
To make the whole process easier, it's a good idea to change the background color to one which more closely represents the general hue and tone of the new background you have in mind. In this case I changed the green to a fairly vivid blue (below).
If you see areas of hair that have 'broken' like the one below, it's because the Keep/Delect/Blend areas are probably running ionto each other and confusing the software into thinking that an area you want to keep should actually be deleted.

Clean up problem areas using the Keep / Delete / Blend Exact Brush tools
To fix this, zoom right in and very carefully paint green over the area you want to keep and make sure the blue blending brush overlays the edges of those areas. Make sure the red 'delete' section goes as close as possible to (but without running into) the areas where detailed hairs and background intersect. If in doubt either leave it blue, or make the decision to sacrifice the occasional fine hair.
I find it very useful to use a pen tablet for this sort of work, as the brush size responds to the pressure I apply with my pen. At the moment I'm using my laptop with a Wacom Bamboo Pen Tablet. On my desktop (bigger desk, bigger Mac, bigger monitor!) I use the larger Wacom Intuos Tablet. Both are excellent, and unless you need to do lots of digital drawing or draughtsmanship the smaller Bamboo version should do just fine.
Select File/Save and Apply to apply your cutout
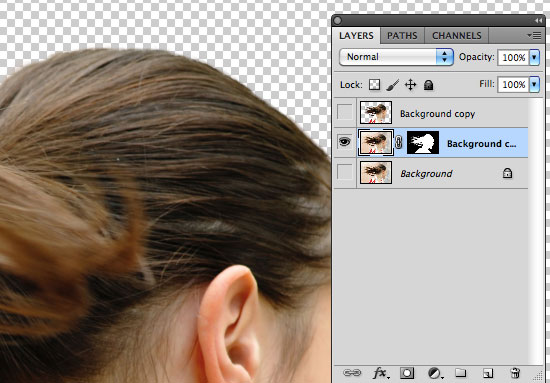
After refining as much as possible, it's time to apply the cutout to the image. Select File/Save and Apply. This will delete the background from the layer you selected in Photoshop. Because the program works 'destructively', the layer that was selected when I started Fluid Mask was a copy of the original background. This means that I can make a second copy of the Background layer, Command-Click on the affected layer to make a selection of the new cutout, and click Add Layer Mask to the new background copy (below).
Remove Background from Image - Fluid Mask Tutorial
Bring in the new background image
With the mask in place, bring in the background image you'd like to use and you'll end up with something like the image below.

Duplicate the layer and select Multiply from the Blending Options dropdown with the lower layer active
Although it's blending reasonably well, there are areas of white 'haloing' around some of the blended hair strands. To help with this in as simple a way as possible, I'm going to take the following actions:
- Select Multiply from the Blending Options dropdown for the masked layer
- Copy the multiplied layer and select Normal from the Blending Options dropdown for the upper layer.
- Select/All with the upper layer mask selected and (using a large, soft-edged brush) paint the image back in from the center of the head. Don't go right to the edge of the cutout head.
You should find that (as below) the blurred hair at the back starts to blend in much better with the new background.
Remove Background from Image - Fluid Mask Tutorial
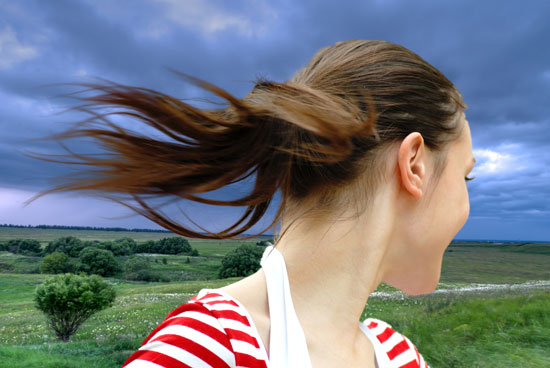
The Finished Image
Remove Background From Image - Tutorials
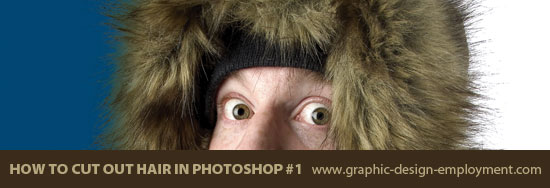
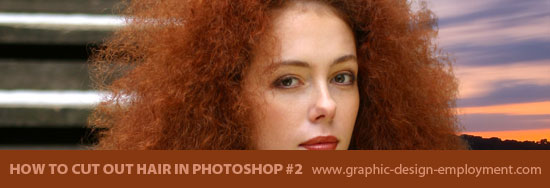
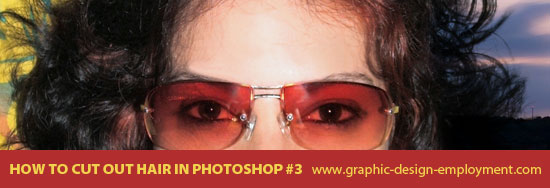
Below are some of the tutorials I've created to demonstrate different ways to cut out hair using Photoshop:
Resources & More Information
- Photoshop Cutouts that Blend
- Return from Remove Background From Image to Home
- Free and Royalty Free Stock Images