Illustrator How to Cut a Shape
This article covers in Adobe Illustrator how to cut a shape using one of five methods:- Cutting a shape using the Knife Tool
- Cutting a shape using the Scissors Tool
- Cutting a shape using the Eraser Tool
- Cutting a shape using the Clipping Mask Tool (this masks to a specific shape rather than cuts)
- Cutting a shape using the Crop Tool (this deletes unwanted elements outside a specific shape)
It also explains:
- How to cut one shape out of another in Illustrator
This article has been written using Adobe Illustrator CS6, but the steps are the same no matter what version you're using. As ever, there are lots of different ways to achieve lots of different things in Illustrator, and cutting a shape is one of them. However, the five methods explained on this page cut a shape in Illustrator in slightly different ways.
Illustrator How to Cut a Shape Using the Knife Tool
All the buttons on the tool bar that have a tiny arrow in the bottom right corner (pointing down and to the right) indicate that the button conceals more tools in a submenu, accessible when you hold the button down. For example, included in the Illustrator Tool Bar is an Eraser Tool which has a little submenu arrow:

The little submenu conceals two tools in addition to the Eraser Tool: The Scissors Tool and the Knife, the latter of these being represented by a little serrated blade. These three tools are used to cut or remove parts of an Illustrator element in slightly different ways.
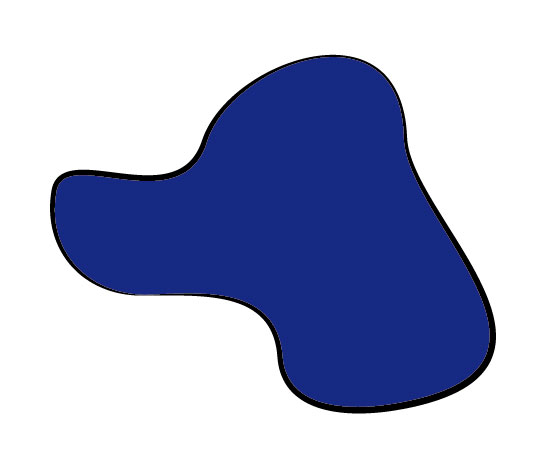
First, create a simple shape. If you give the shape a stroke it'll help to demonstrate some of the differences between the tools. The random shape I've created has an irregular stroke applied to it via the Irregular Width Profile submenu.
It doesn’t matter whether or not the shape is selected for this process, but with the Knife selected, click on the artboard (away from the shape) and drag across the shape where you want to slice across it. Release when you’ve passed all the way over the shape.
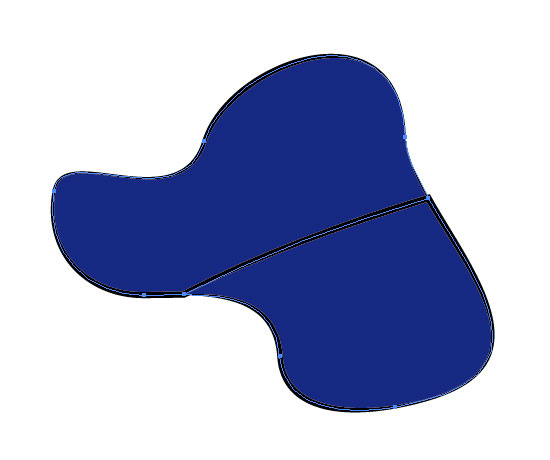
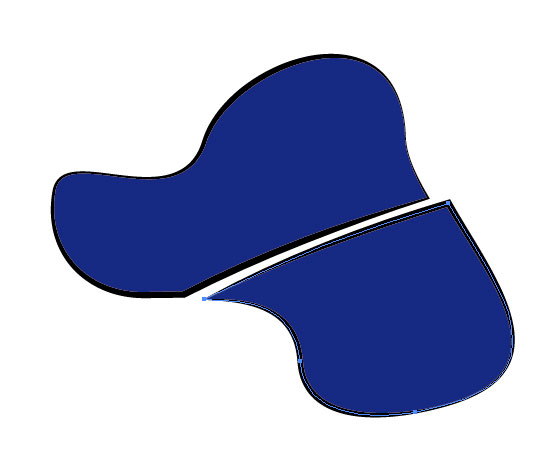
The shape will now show an additional stroke along the line you’ve just cut. Deselect the shape (which will have become selected when the cut was made). Now click a part of the shape and drag it away. You’ll see that you’ve cut the shape into two parts, each part with a closed path, indicated by the fact that both sections have a stroke all the way around.
You could also make a ‘zig zag’ cut across the shape, cutting back and forth before releasing the mouse button. This will result in several sections, all of which become their own independent shapes.


The Knife Tool will work on as many shapes as you want at the same time, including groups of shapes. As long as the shape isn't locked or hidden, the Knife will slice through anything it passes over. If any of the shapes were not enclosed before being cut by the Knife Tool, they will be enclosed once the Knife has done its work.
Having said that, if you only want one shape in a pile of shapes to be cut, or if you only want some but not all shapes to be affected, just select the shapes you want to cut before dragging the knife across, leaving the other shapes deselected. This will only cut the selected shapes - all others will remain unaffected.
Illustrator How to Cut a Shape Using the Scissors Tool
The Scissors Tool is a slightly different kettle of fish. This tool will only work on a single shape at a time, and it will not enclose paths after a cut has been made. In fact, if it cuts an enclosed shape in half, you’ll end up with two unenclosed shapes - but the overall appearance of the original shape will be retained.
Select the Scissors Tool and click anywhere on the edge of the shape that you’ve created. This will create an anchor point (or select an existing anchor point if clicked on). Then click on the other side of the shape where you want the other end of the cut to be.
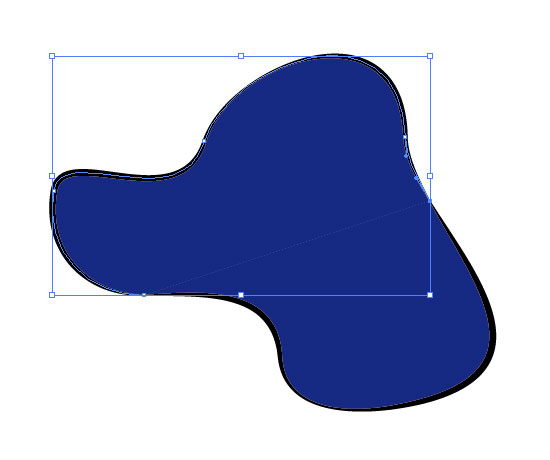
Now if you deselect the shape and then click / drag one of the new sections, you’ll see how this differs from the Knife Tool. You now have two unenclosed shapes - the open edges of the shapes have no strokes, as there is no path to stroke along these edges. If you want to close the shapes, select the two end-points using the white Direct Selection Tool and select Object/Path/Join (or Control J).
Illustrator How to Cut a Shape Using the Eraser Tool
The Eraser Tool has yet another effect when it’s used to cut. Like the Knife, it will cut though whatever and however many shapes it's dragged over (as long as they're unlocked). Also like the Knife, after a cut has been made it'll enclose the paths of the shapes that it's sliced through. Thirdly, and yet again like the knife, if you only want to erase parts of one (or more) of the shapes in a group, just select the shapes you want to cut and the rest will remain unaffected.
Where the Eraser tool differs from the Knife is that any part of the shape that you drag over will completely disappear. The Eraser Tool behaves like a brush insofar as it has a defined size, and where the periphery of the brush circle is will be where the shapes that have been affected will be enclosed. If there was a stroke around the original shape, the stroke will continue around the areas that've been created either side of the erased line.
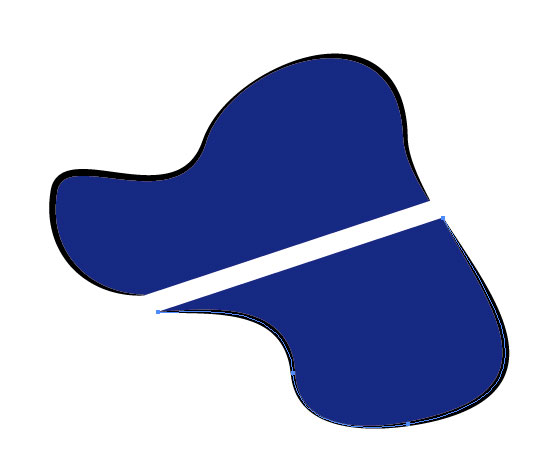
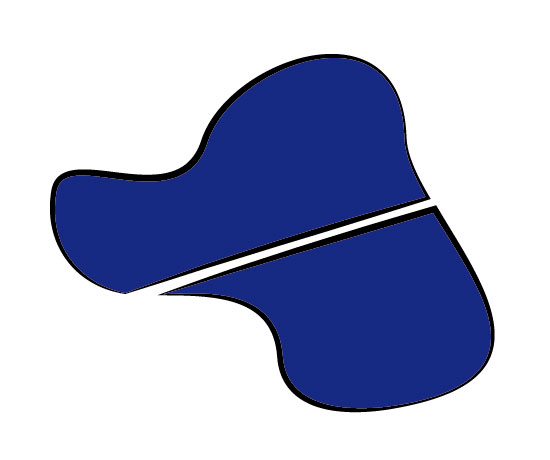
To use the tool, select the Eraser Tool from the Tool Bar. Now with the shape either selected or not, drag the Eraser across it. You’ll end up with two enclosed shapes with a large swathe missing where the Eraser Tool was dragged.
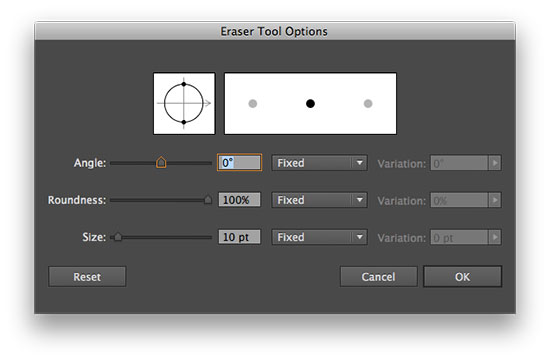
You can also alter the size and shape (or at least the roundness) of the Eraser Tool by double-clicking on the tool button in the Tool Bar. A settings window will open, allowing you to change the roundness, angle and size of the Eraser brush head, in the same way that you can change the settings on a brush.
Illustrator How to Cut a Shape Using the Crop Tool
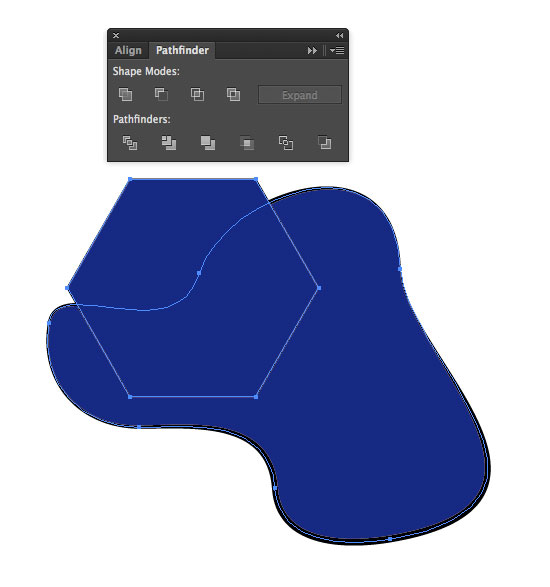
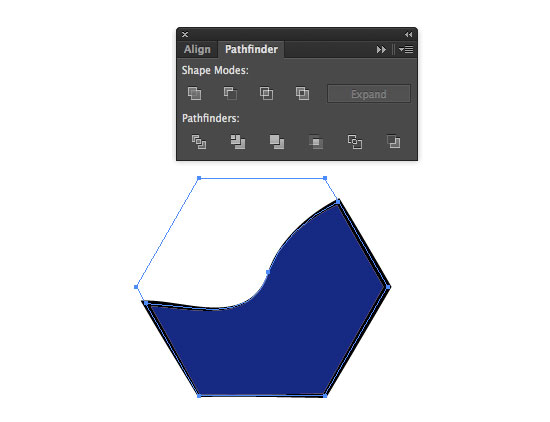
Another way to cut or areas of a shape is to use the Crop Tool, which can be found in the Pathfinder Palette. This works by using a shape placed over another object to determine which part of the object to keep and which part to delete.
Create a new object (of any shape) over your existing shape. Now select Window/Pathfinder. With the shape(s) you want to crop selected, as well as the top shape that you’re using as a crop shape, click the Crop Tool (fourth button from the left under 'Pathfinders:'). This will delete both the masking object as well as everything that was selected outside it.
Note that any paths that were opened up by this process have been automatically closed, leaving a stroke in place. If you don’t want to retain a stroke, you’ll need to convert all strokes to outline paths before cropping the item(s). You can find this under Object/Path/Outline Stroke.
Illustrator How to Cut a Shape Using the Clipping Mask Tool
Unlike any of the tools mentioned above, the Clipping Mask Tool is the only one that works non-destructively. This means that nothing is deleted in the process of cropping / masking; it’s just hidden.
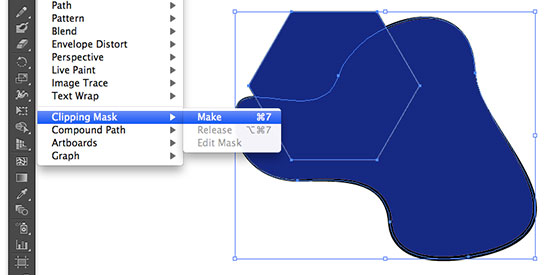
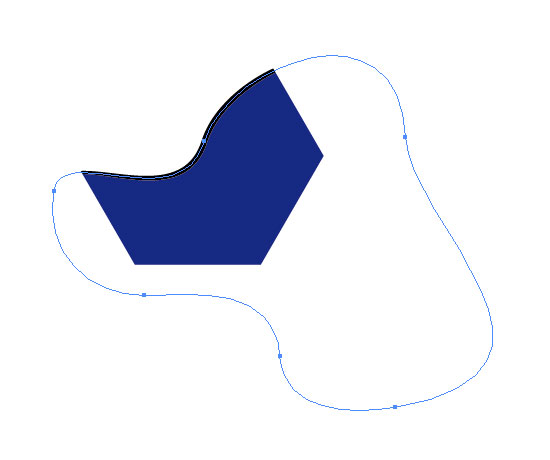
To mask a shape or collection of shapes, follow the same procedure as with the Crop Tool. Create a shape over your existing objects, select all the items that you want affected (including the mask shape which needs to be on top of everything) and select Object/Clipping Mask/Make. This will create a very similar effect as the Crop Tool, although this time nothing is deleted. Also, no new stroke has been created along the new edges.
If you select the masked object and double-click it, you’ll notice that an outline of the original shape can still be seen. This can be edited either by double-clicking it again to edit in Isolation Mode, or by releasing the mask by selecting Object/Clipping Path/Release.
And those are the main methods used for cutting shapes in Illustrator.
How to cut one shape out of another in Illustrator
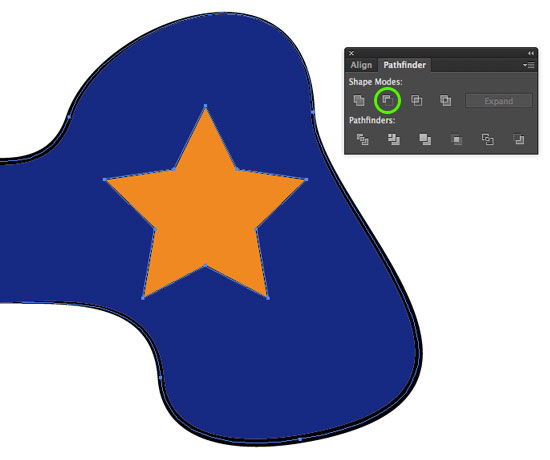
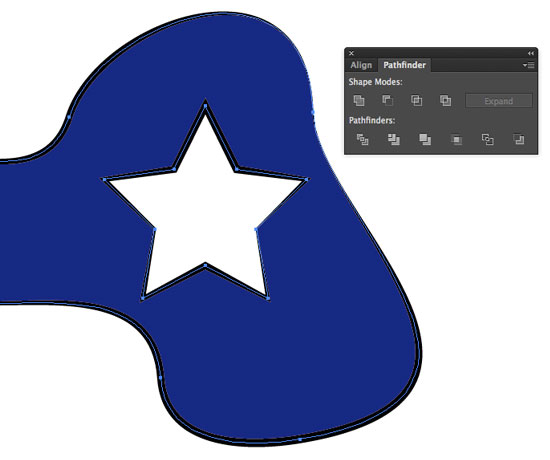
Finally, there's the issue of how to cut one shape out of another. This is very simple and achieved using the Pathfinder Tool. First, create your two shapes. The one in the foreground should be the shape (the star in the image below) that will be cut out of the shape behind.

In order to bring the cutout shape to the front, select it using the black Selection Tool. Then select Object/Arrange/Bring to Front. Now select both of the shapes with the Selection Tool. Select Window/Pathfinder. Under the top row of icons, click the second one in from the left: Minus Front. This will cause the object in front to make a hole in the background shape.
Resources & More Information
- Illustrator Live Trace
- Illustrator How to Create a Logo
- Illustrator How to Make a Pattern
- Illustrator How to Convert Text to Outlines
- Illustrator How to Create Line Art
- Click to go to top of Illustrator How to Cut a Shape